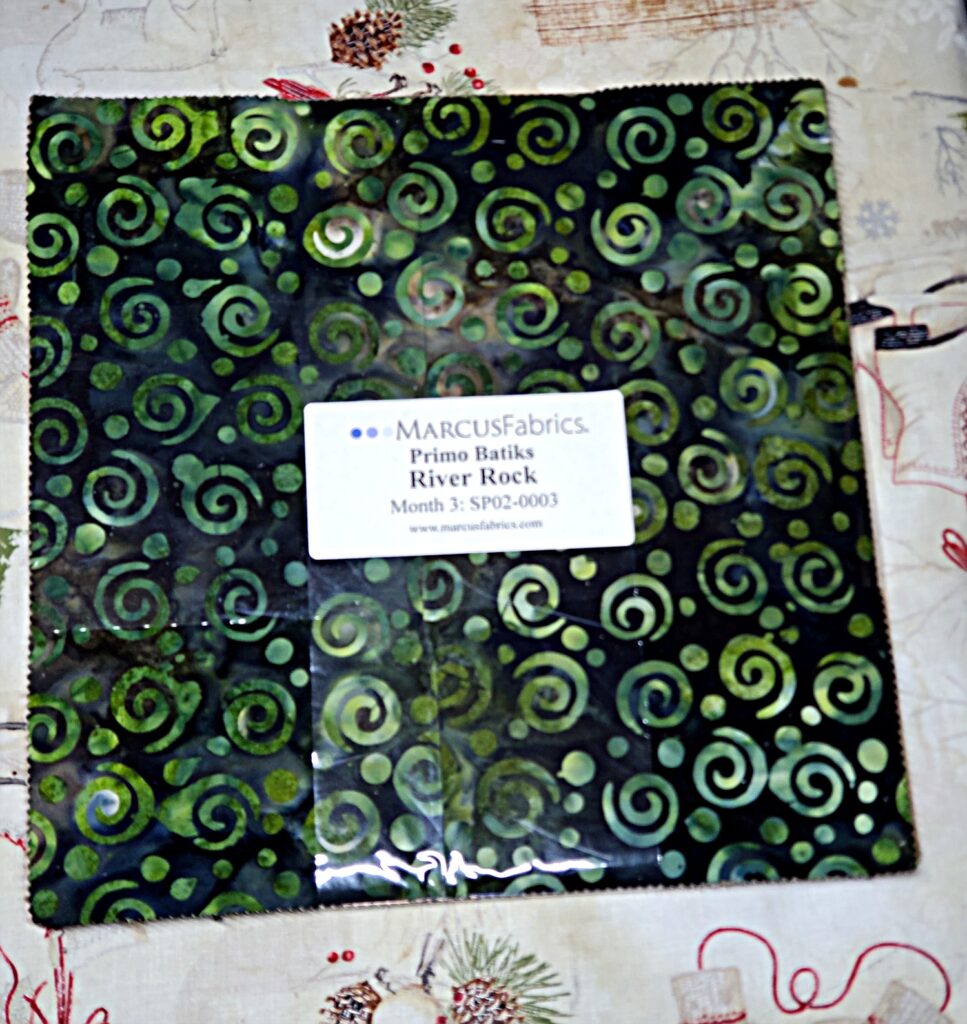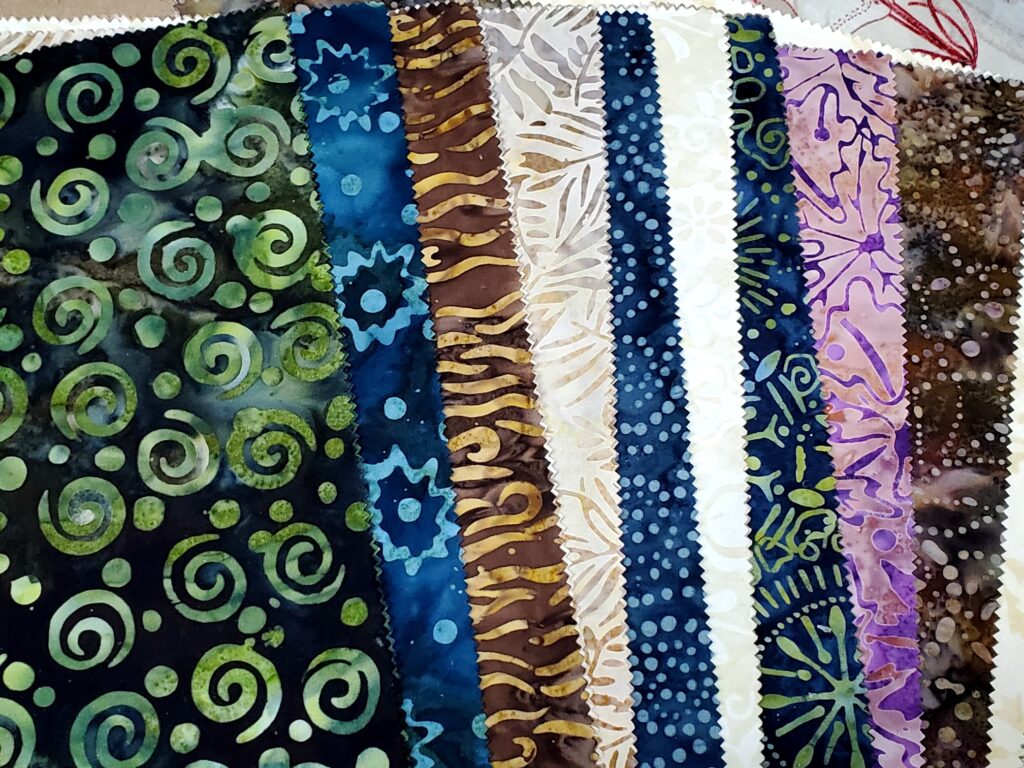
The sixteenth project on my list is a Block of the Month that I started in February. Each month I have a set of ten inch squares to work with. I especially like this project because I don’t have to work with yardage each month. Everything fits in a project bag! There are nine months to this quilt. Much nicer than a year’s worth!

Even though it is called a BOM or Block of the Month, there are two blocks each month along with a “spacer unit”. The two blocks are the same design but in two sizes and different fabrics in each block. The spacer is used when the blocks are put together to make the quilt top. This pattern does not have rows or columns so the spacers are used to make the stitching of the sections easier. I will post more on this as the time gets closer to putting the top of the quilt together.

This project is a class I am teaching so I do have a time frame to keep. We have the option of cutting the block pieces in class and sewing the blocks together before the next class or cutting the block pieces before class day and stitching the blocks together in class. Our next class is for Month Three so I need to be sure my Month Two is completed!
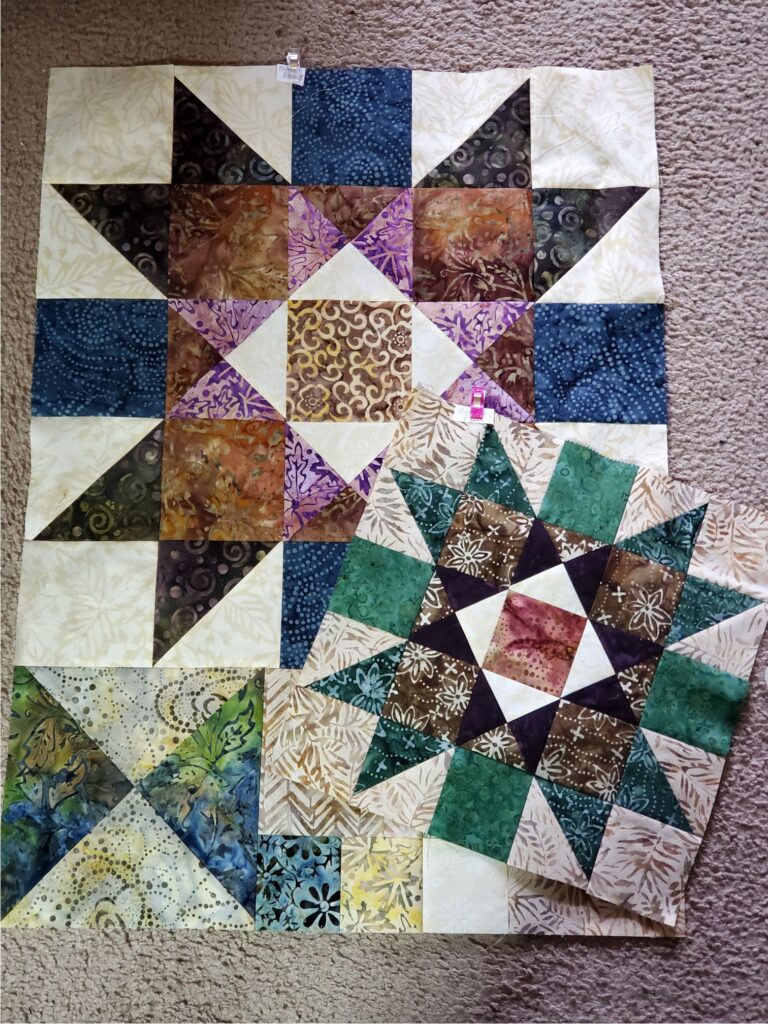
On the left is a picture of the first two blocks and space for Month One. The space is stitched to the bottom of the bigger block.
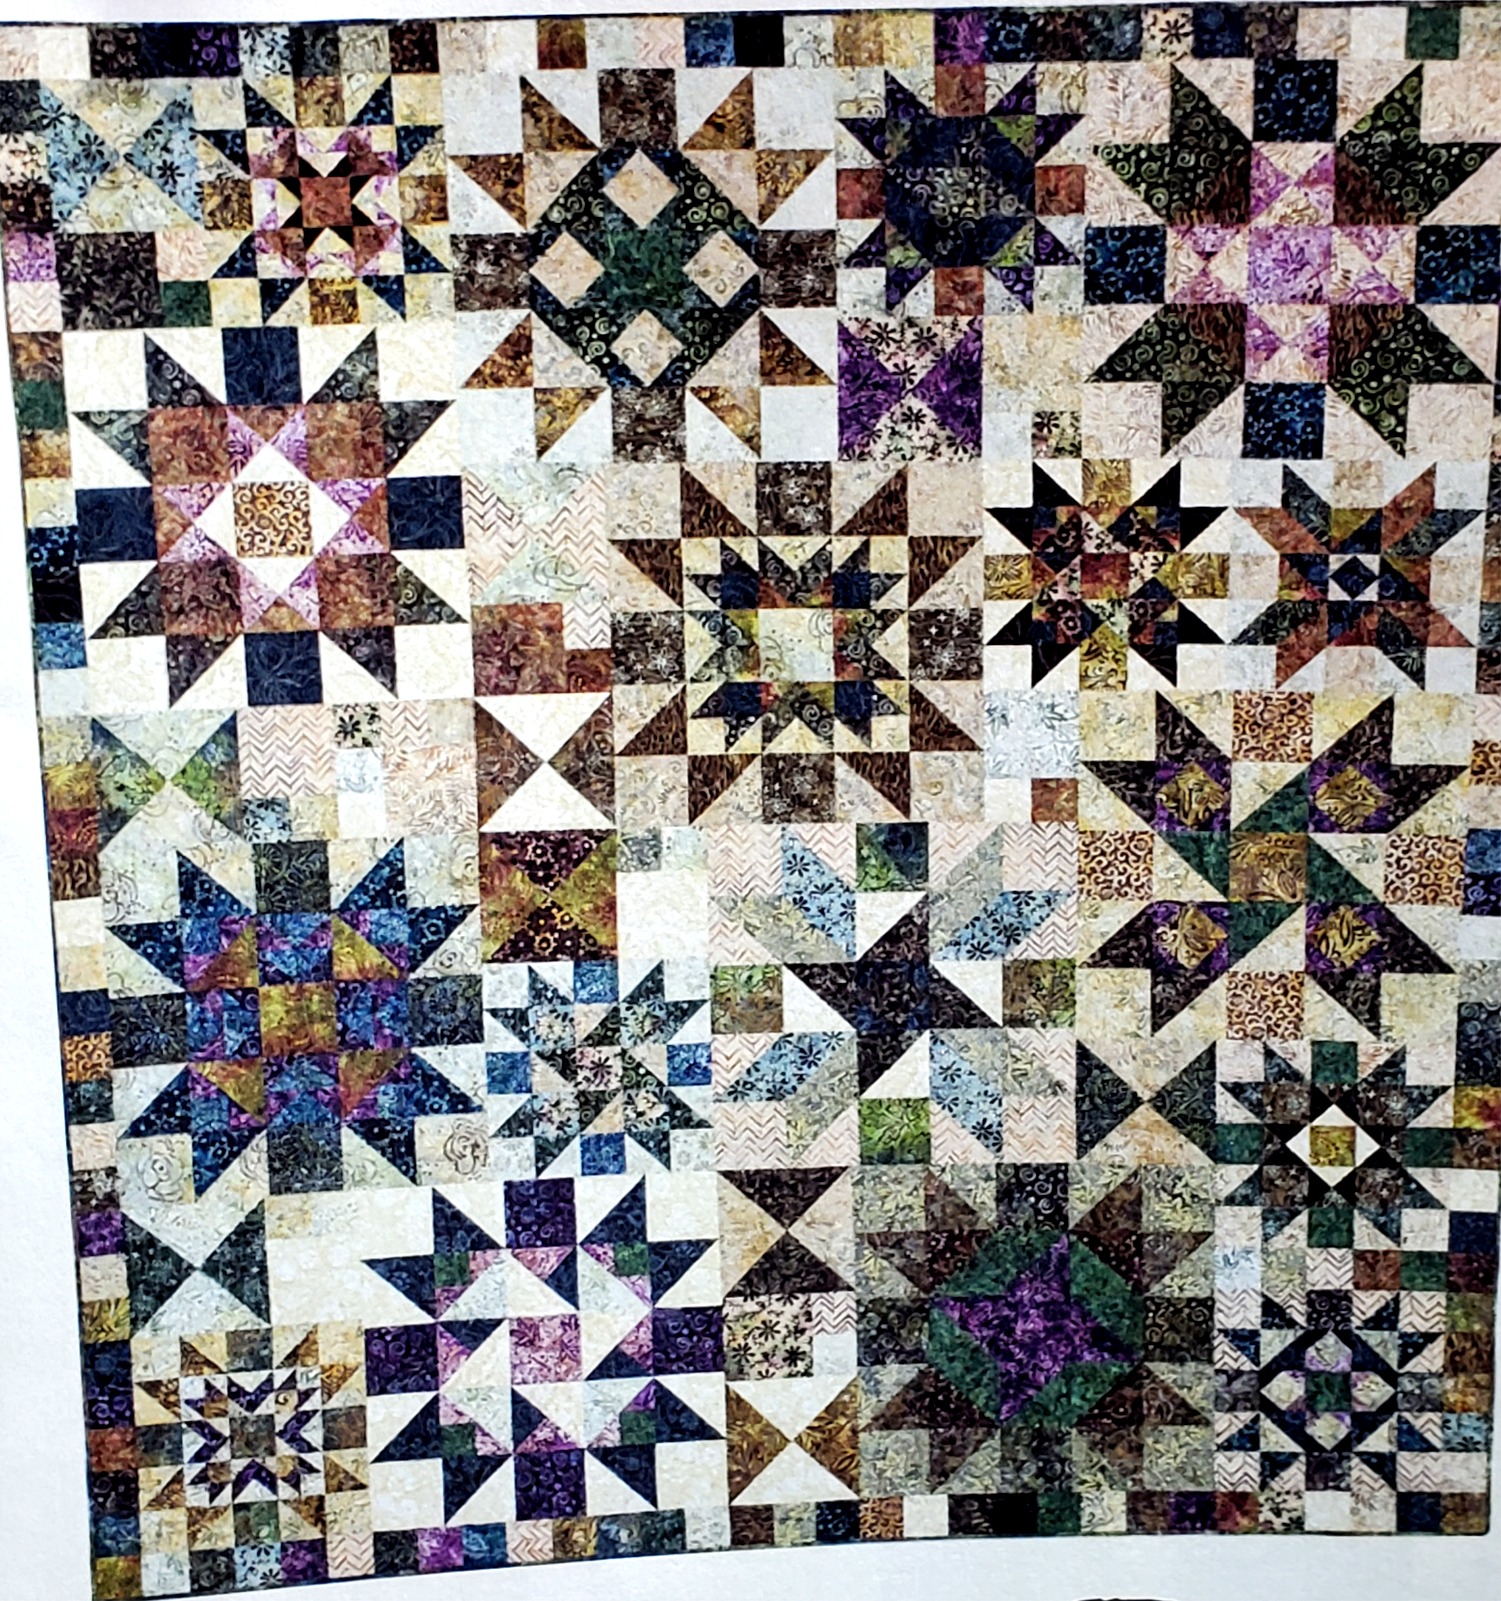
Even though there are only nine months to this BOM, this is a big project since it is a full quilt. The quilt size is 77 1/2″ x 85″.
I am using my Cricut Maker to cut all of the block pieces and it has been a real treat for me. All of those little squares, half squares and quarter square triangles come out just perfect! The Cricut Maker has a rotary cutting tool and it works great for cutting fabric. I have a video tutorial on cutting fabric with the Cricut Maker that I have linked below. There is also a video tutorial on cutting fabric with the Brother Scan N Cut that you can find on my YouTube channel – Miss Loreens Schoolhouse.
See you tomorrow,
loreen


