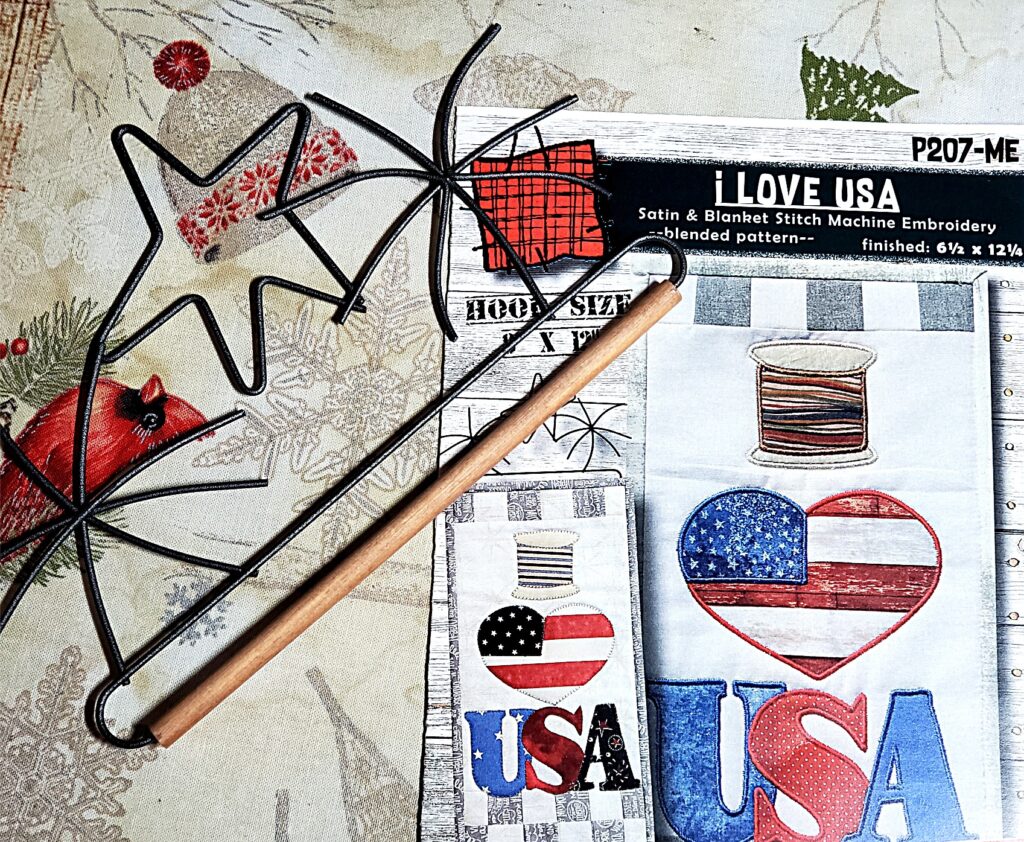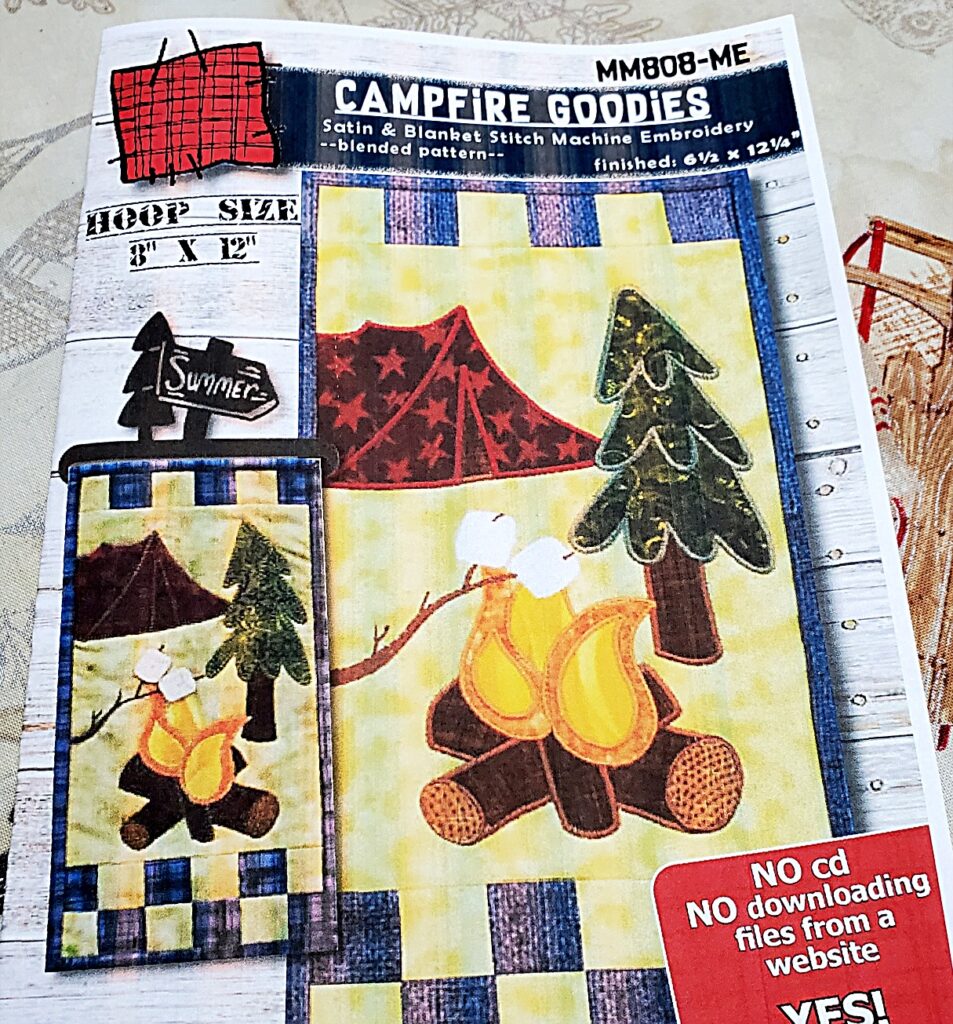
Today’s project is a bit different from the others I have posted. It isn’t one specific project. I have quite a few patterns from Patchabilities. They are machine applique patterns, ranging in size from 6″ x 12″ to 12″ x 14″ and some sizes in between. The goal for this “project” is to work on some of my Patchabilities patterns even though, right now, I don’t know which one I want to do first.
Part of this is because I am going to be doing some video tutorials on my YouTube channel and that may decide which pattern I work on first. I already have a machine applique series on YouTube and I will leave a link at the bottom of this page and also on my Video Tutorials page. There are four videos to the series so that you can watch whichever part of the machine applique process you might need help with. I used a Patchabilities pattern in this tutorial series.

In the picture on the top right, you can see that there is a hanger with this particular pattern. I have some patterns with hangers, some without. There are some that are hand stitched using wool felt but most are done by machine applique………..thank goodness!!
The pattern pictured on the left “Campfire Goodies” is part of the new Patchabilities applique in the hoop of your embroidery machine so this is most likely the pattern I will do first as it definitely needs a video tutorial. If you noticed on the pattern that it says the hoop size is 8″ x 12″, don’t despair! You would use that size hoop if you were stitching the background and borders in your embroidery hoop. It will require a smaller hoop if you are going to machine applique the camping shapes. I will share more about that in a later blog. Today I am just adding another “project” to my April list!
Below is the link to Part One of the Basic Machine Applique Series.
See you tomorrow,
loreen

